Dye Pre history:
29 January 2013
Solar dye created with Cotinus coggygria and a small iron nail.

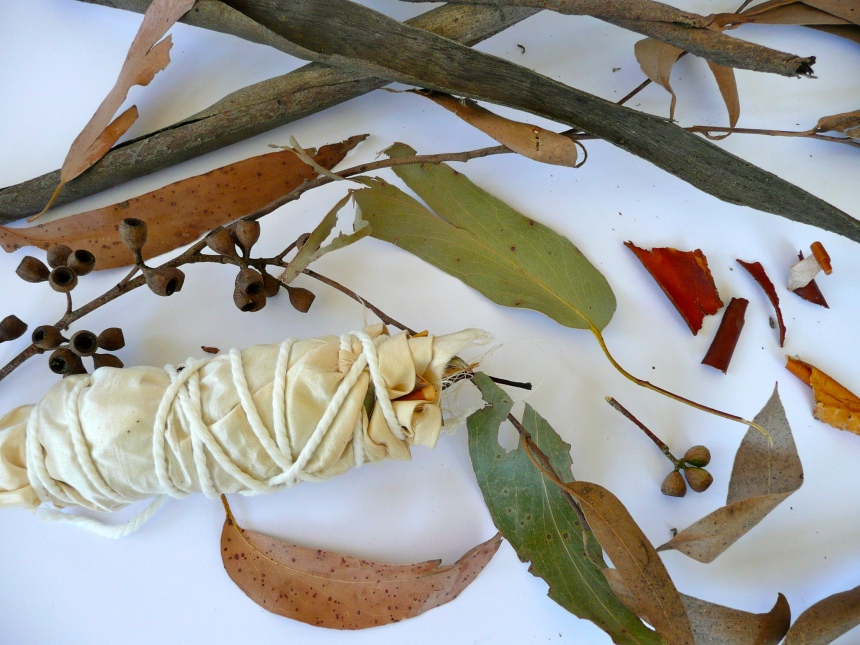
Added pink silk and white cotton bundles containing honesty seed pods, aquilegia seeds and lupin seed pods. Cotton fabric on top held under water with a cotinus twig.
2 February 2013
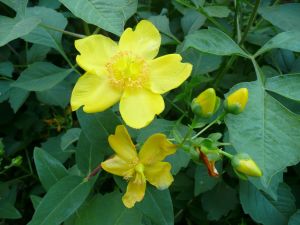
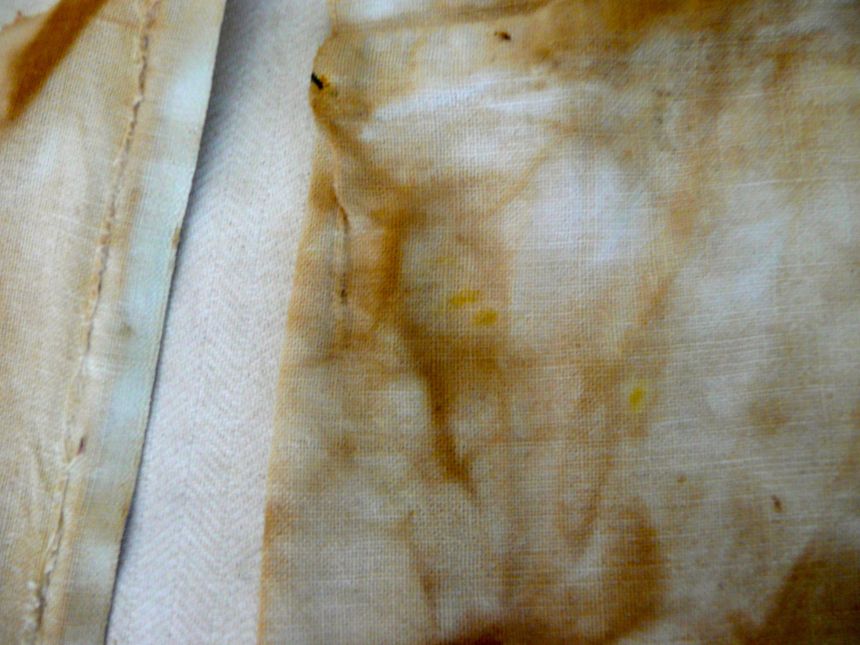
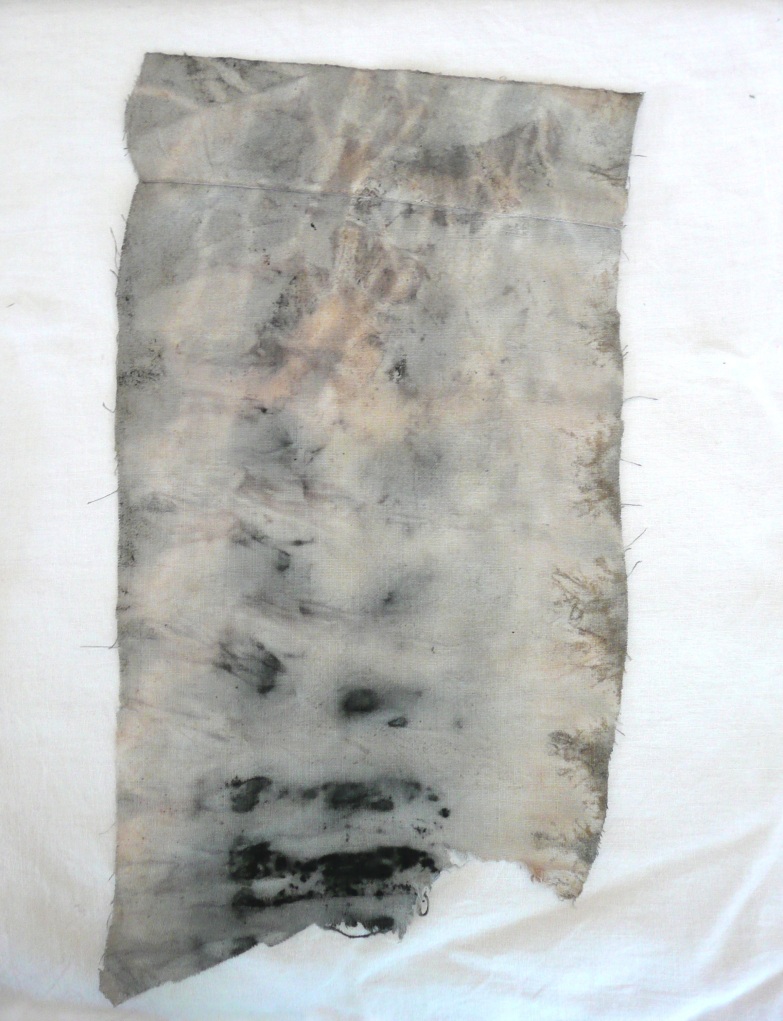
Bundles removed, inspected, and the silk returned as very little dye taken up in the centre of the bundle. To brighten the colour I added some hypericum and hydrangea sola dye to the cotinus/iron brew. The opened cotton bundle is below:


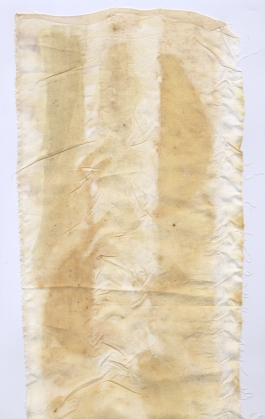
This is what happened to the silk bundle.

The ‘cotinus’ dye bath was not abandoned at this point but I put it in a larger jar to accommodate a linen bundle.
28 February 2013
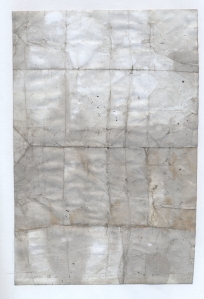
Linen added.

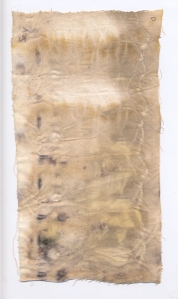
Sequoiadendron giganteum cones, dark red prunus leaves and sequoia bark in a scarf length of white linen (mordanted previously in alum) and bound with linen and cotton thread, was next placed in the Cotinus leaf solar dye, but this left little colour, even after the linen and dye bath were simmered for one hour. Even though the colour of the dye was dark perhaps I had exhausted the dye content. I think it was worth the effort, the gentle colours – blue grey, pink and palest brown.